It’s always exciting to get a box of samples, but I was particularly excited for this box from eeBoo since it was my first time getting puzzles!
I promptly set aside a bunch to give away to friends and family, but of course I reserved a couple for myself. After all, I am duty-bound to assemble my own puzzle, right? What better way to learn what works and doesn’t work?
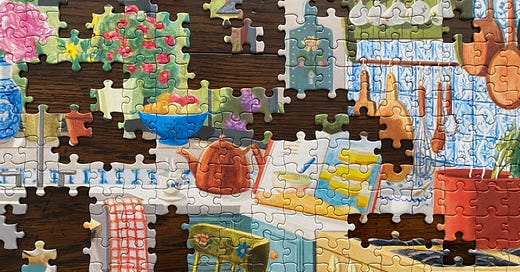
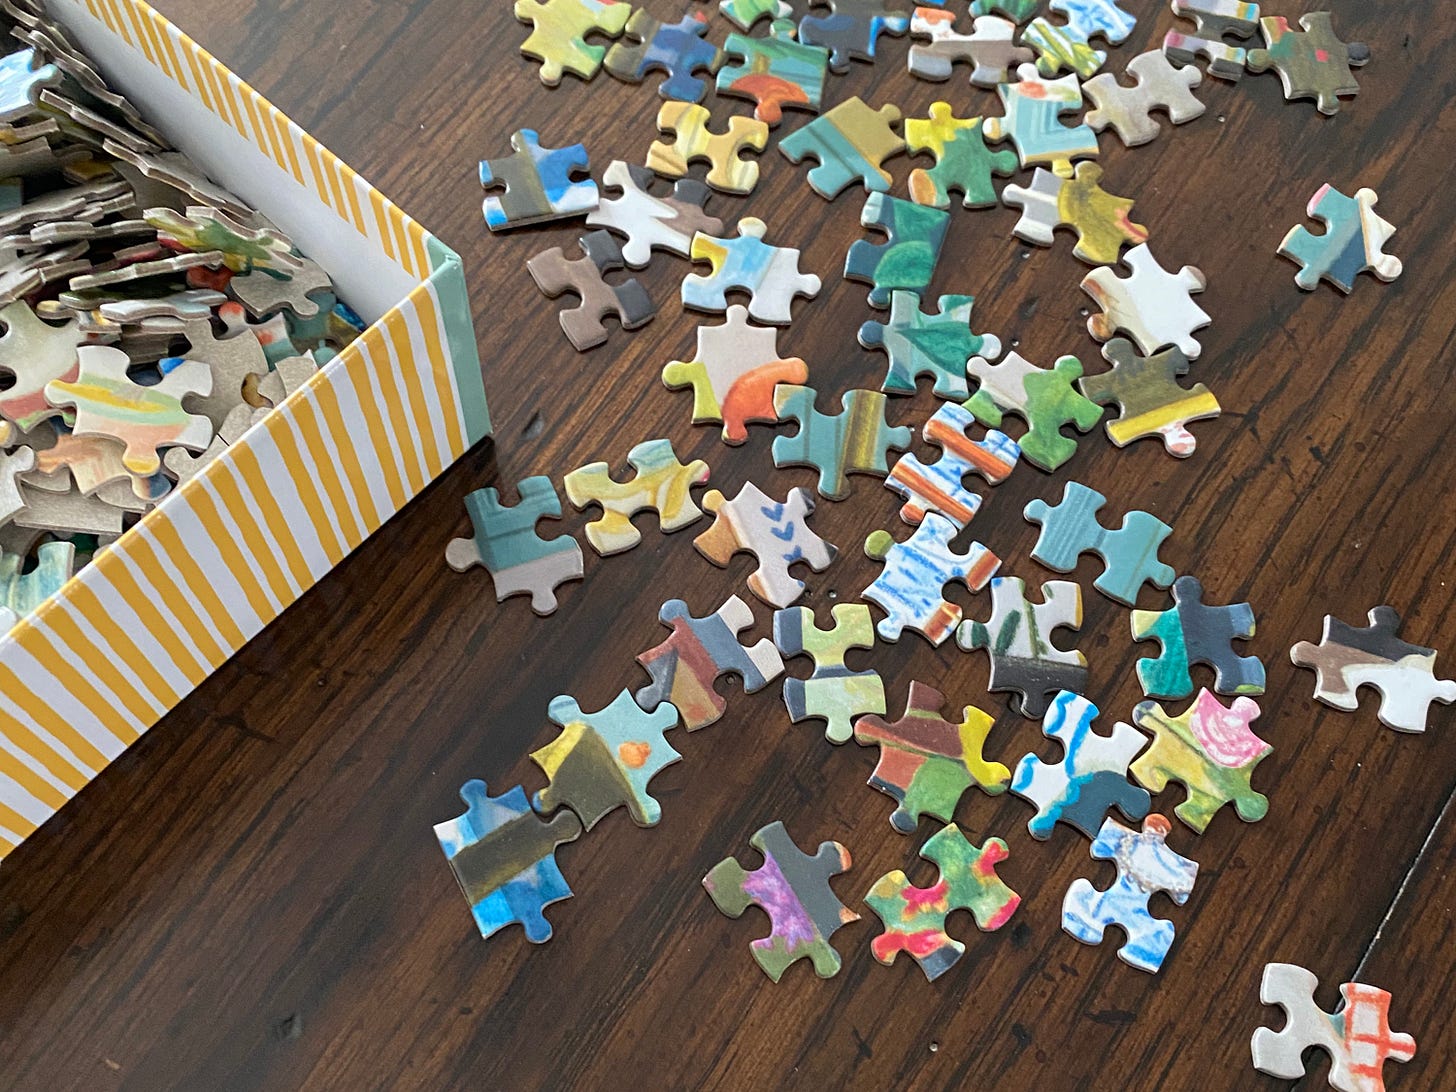
I promptly opened the compostable bag the pieces came in and…wow…that’s a lot of pieces. Not sure when I last did a 1000 piece puzzle, but it’s been a while.
Not gonna lie, I came at this with a bit too much bravado. I assumed I knew the image so intimately that I’d have the puzzle together in no time. Dare I say…an hour? Maybe two? Cue the hysterical laughter.
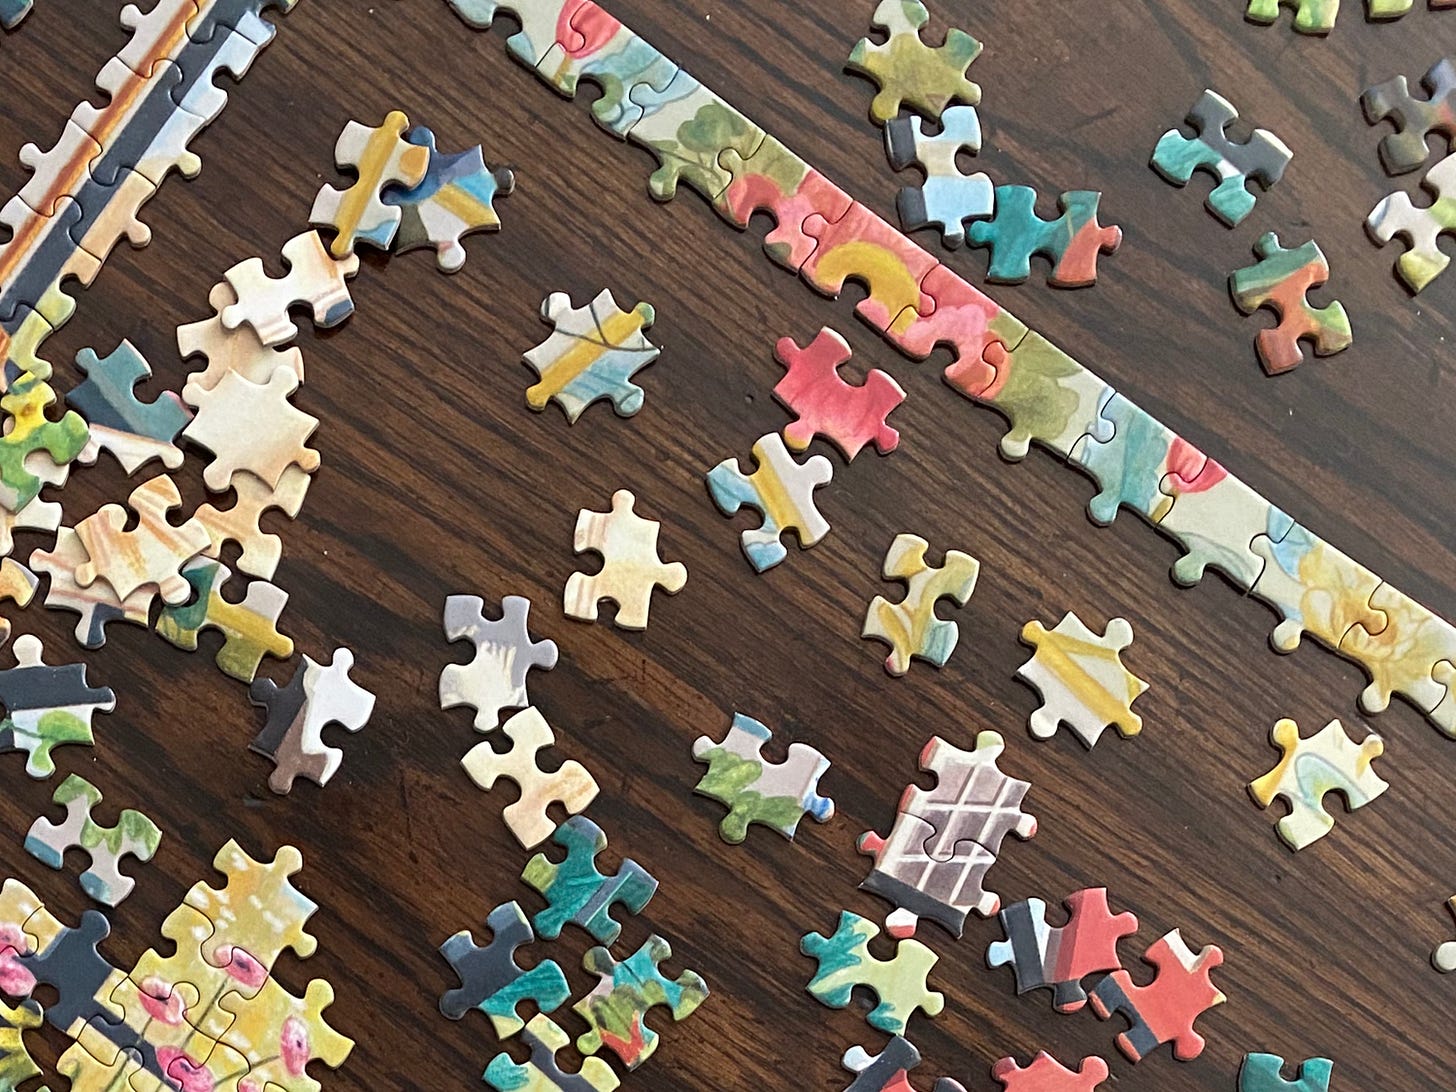
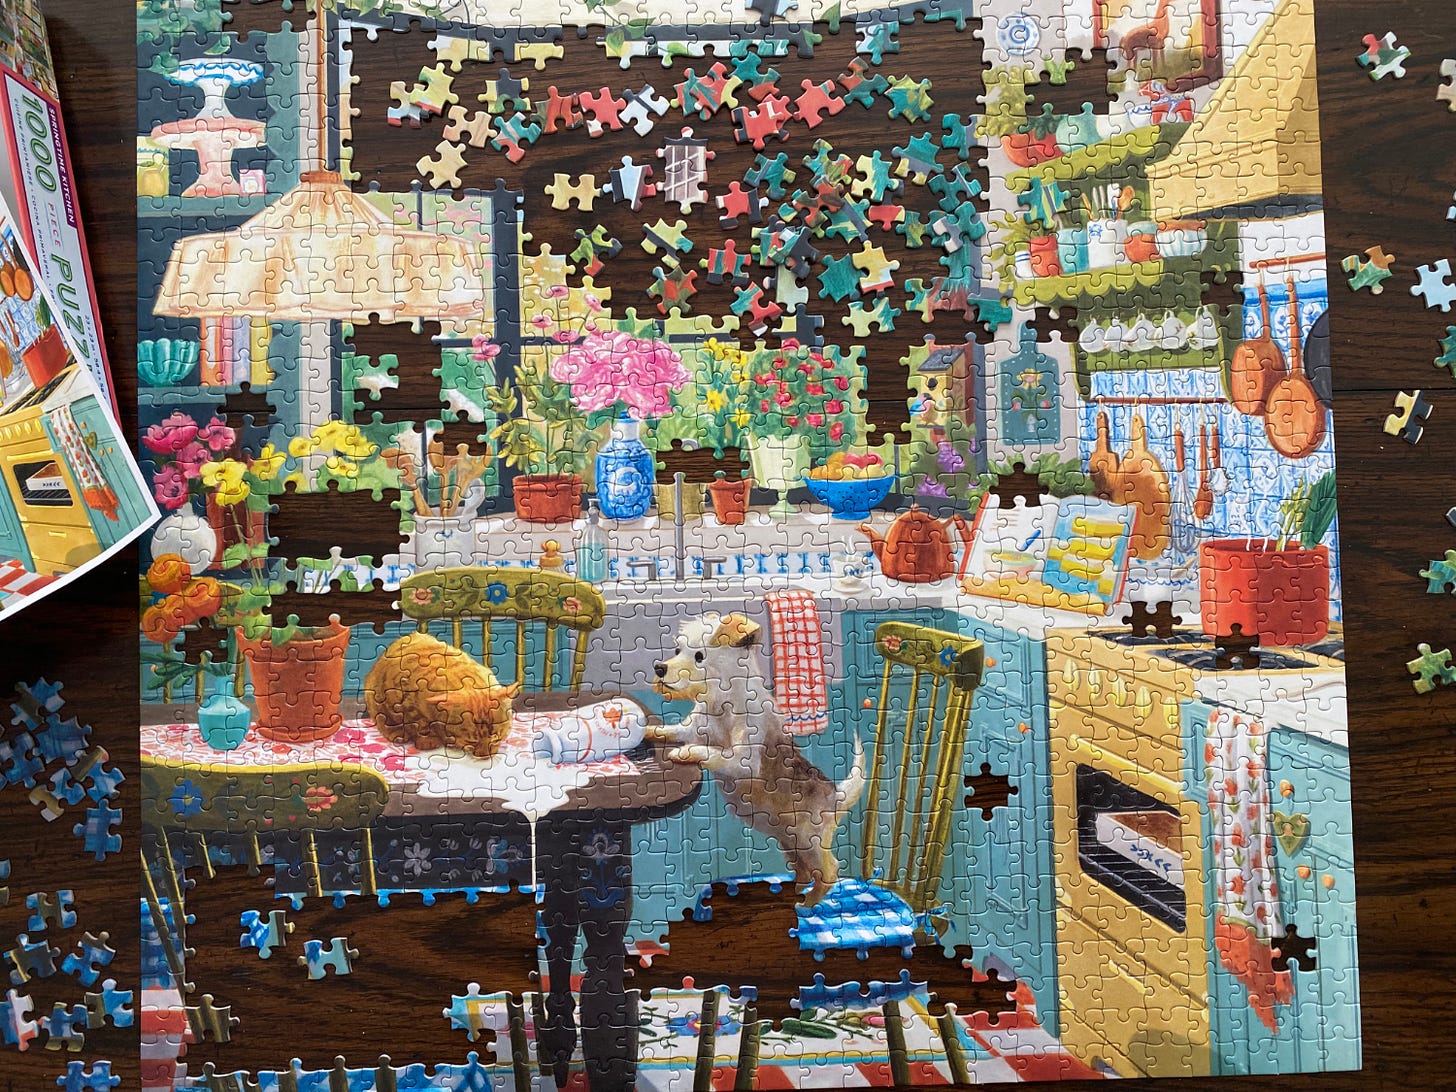
I dove right in assembling a few elements that I knew worked together, but it wasn’t too long before I gave in and went with the classic edge-first approach.
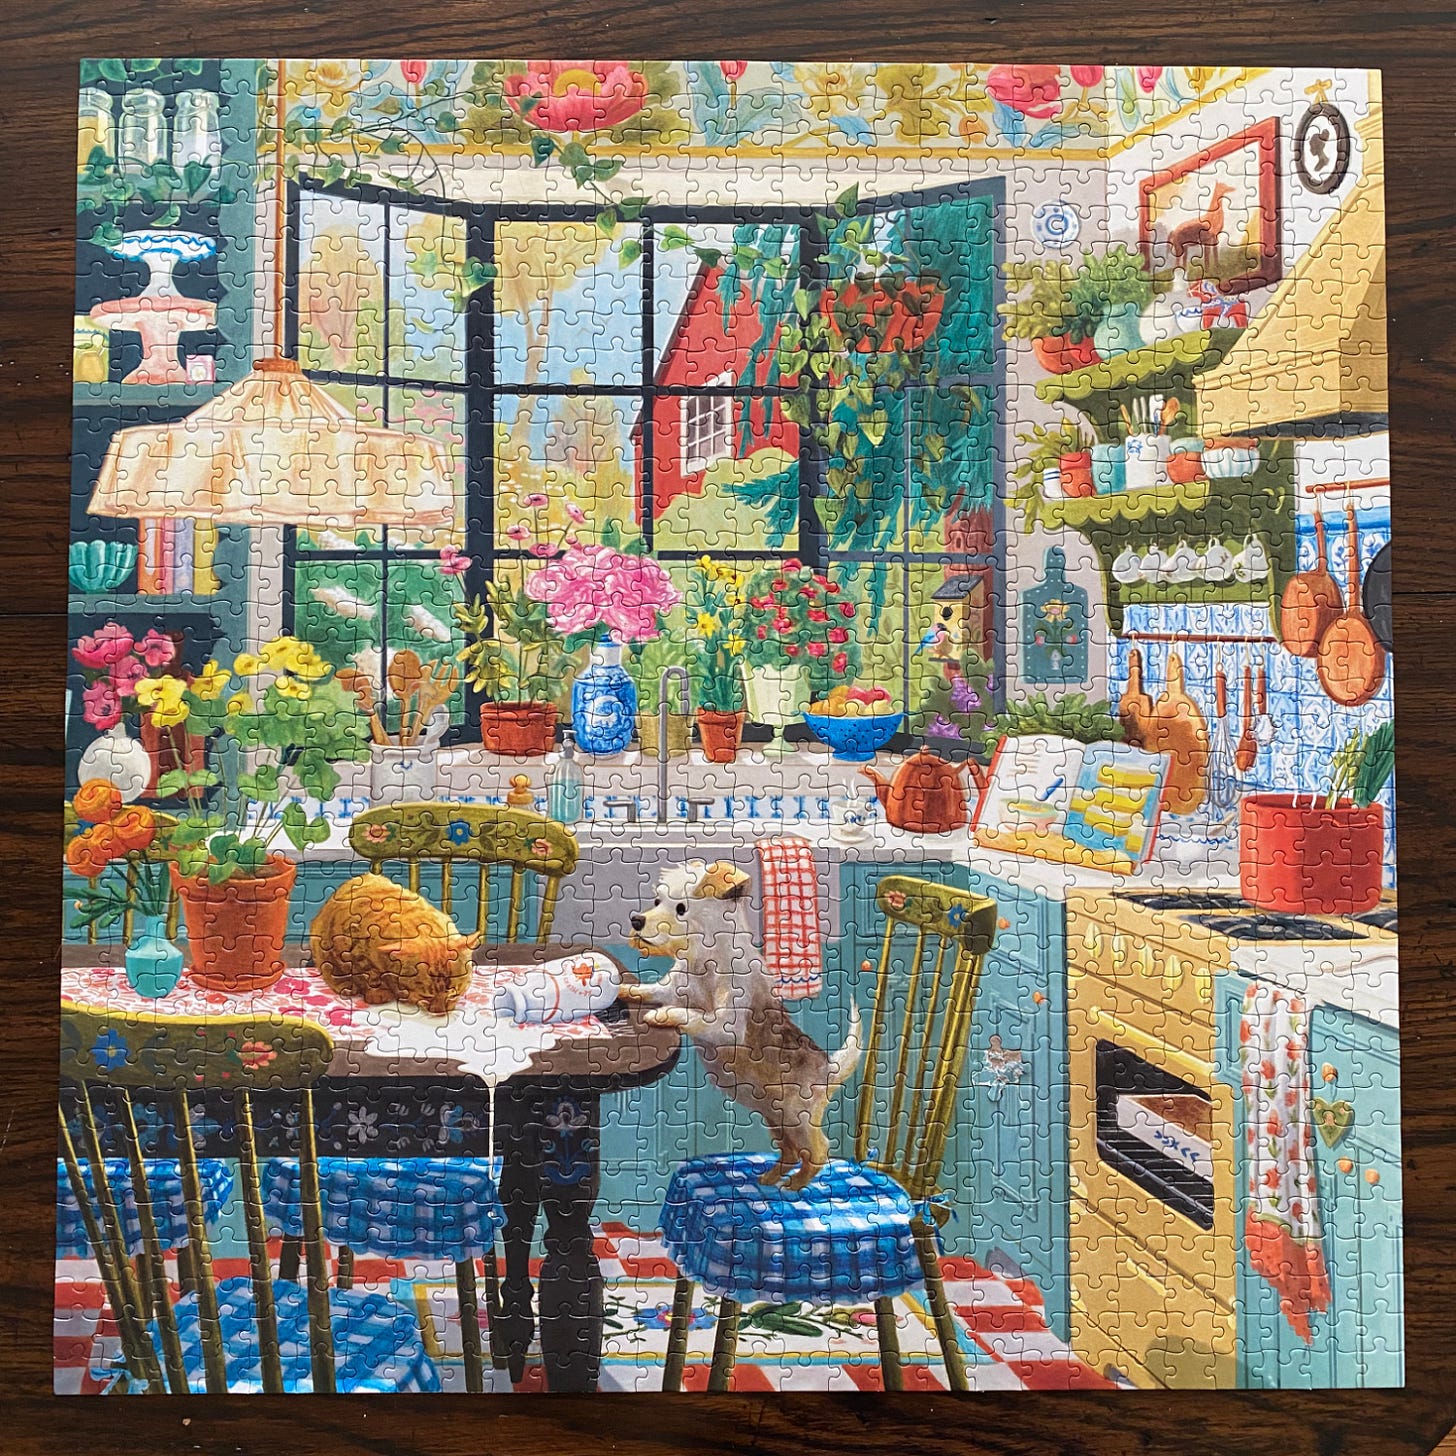
I also thought I wouldn’t have to reference the illustration on the box but, yeah…I definitely did. To be fair, it’s been a year since I worked on this illustration. I’m just gonna go ahead and blame that.
I quickly learned that I find long straight lines and small areas of tiny patterns the most satisfying elements to assemble. Probably obvious in retrospect, but there’s no substitute for hands-on experience. I’m already thinking about how I’ll continue to leverage those elements in my next puzzle.
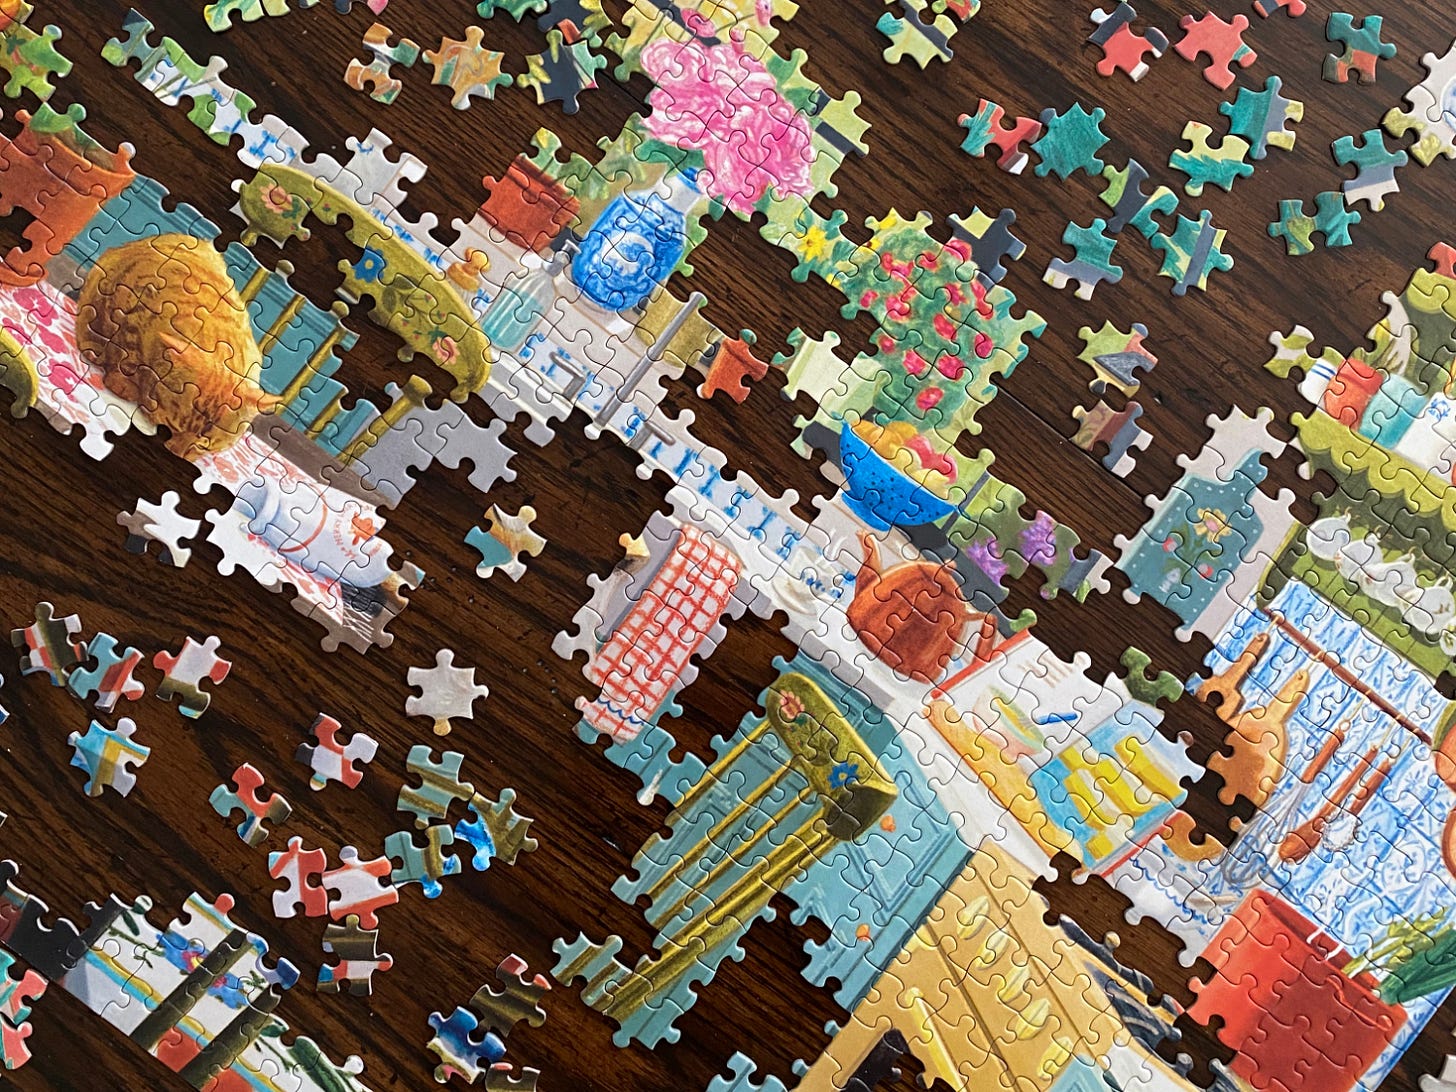
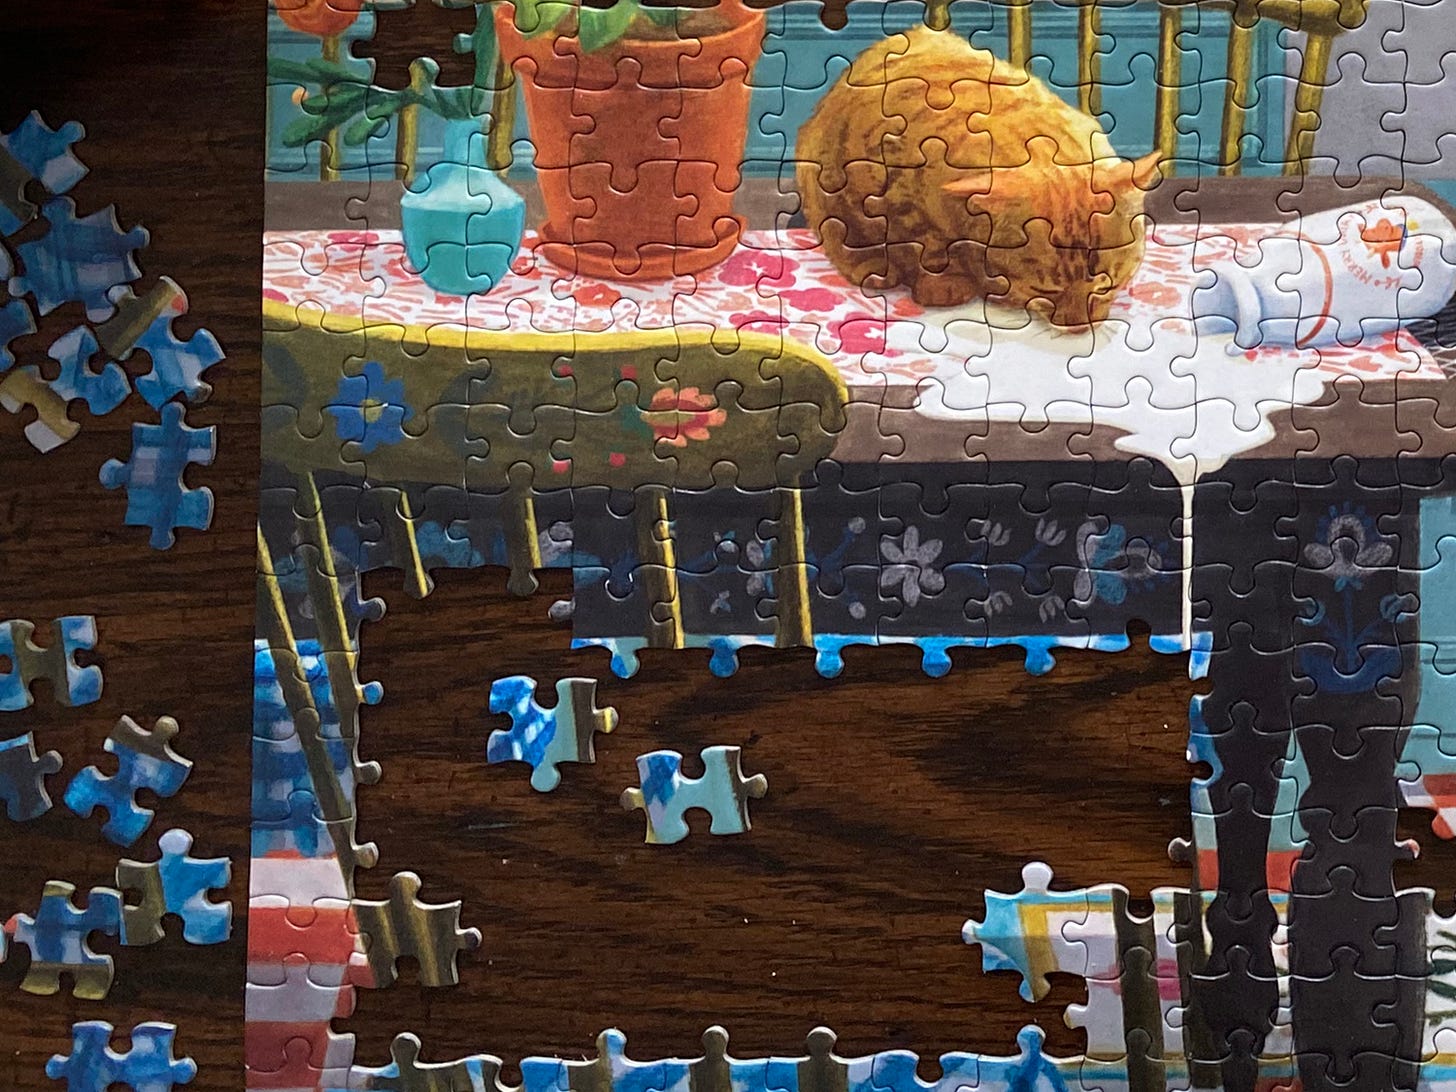
In Part 1, I referenced illustrating in zones and this is what I was talking about. When working on the illustration, I didn’t think there was that much blue plaid. But when working on the puzzle, it feels like more, especially at the beginning when I had dozens of similar pieces in front of me. Fortunately I use shadow and perspective in my work, so I had different shades of blue and different scales and angles of plaid to guide me. The chair spindles helped, too. Without those clues, I’d have had to rely on trial and error rather than logic to determine which piece goes where, and that’s less fun for me.
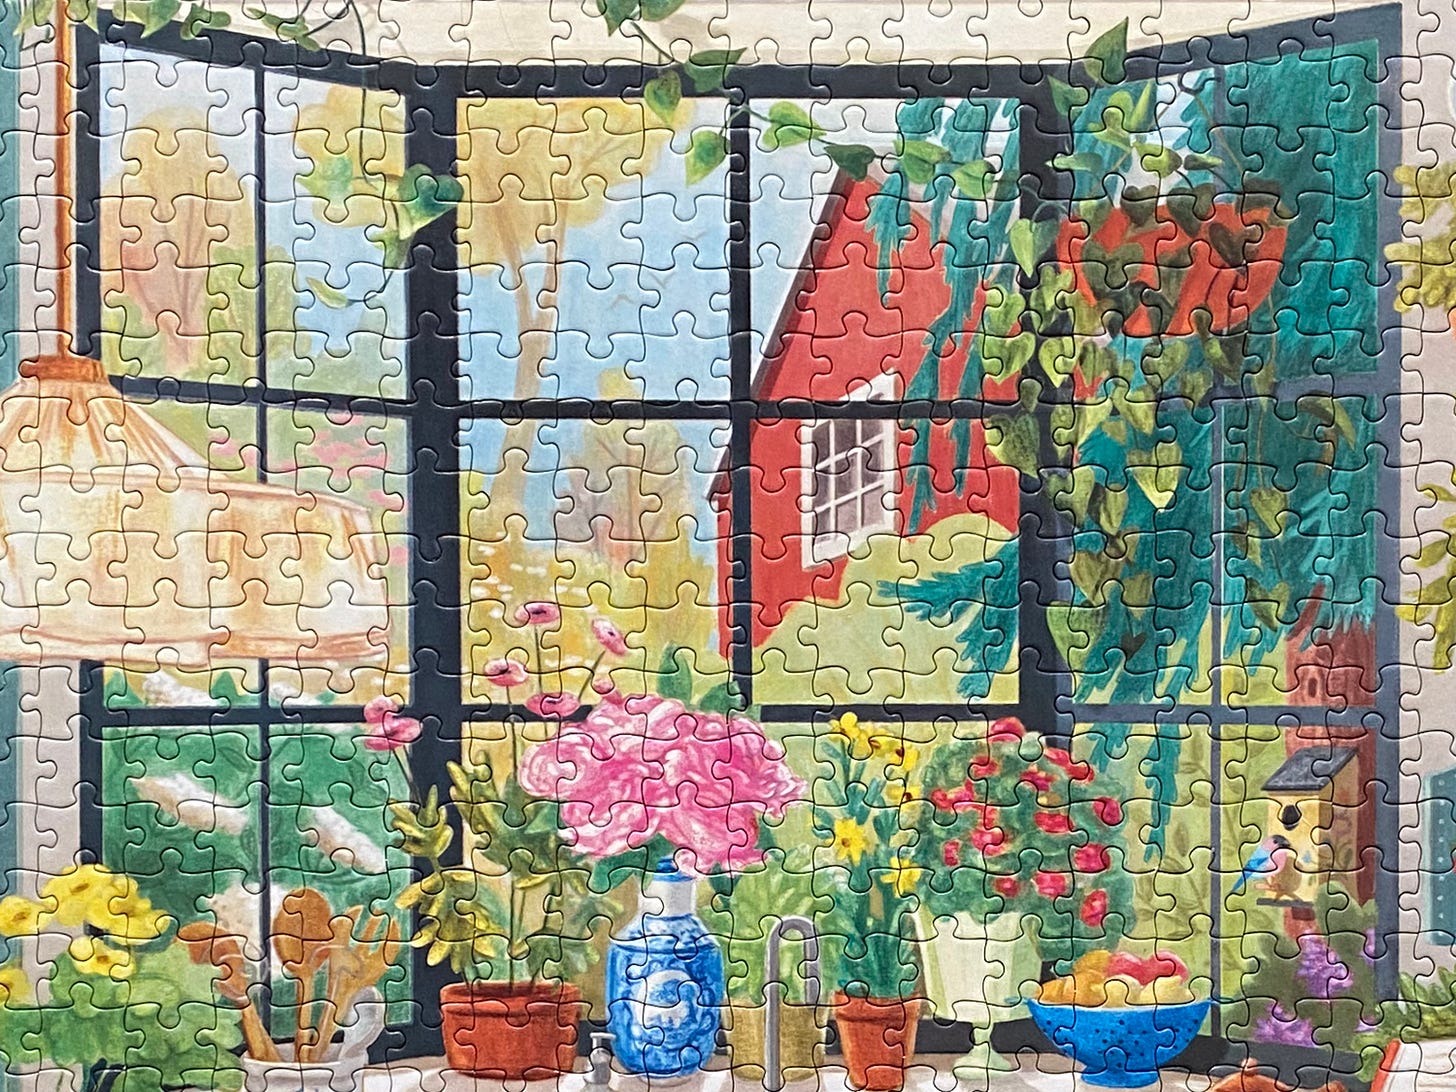
Another example is this window. As with the chair spindles, the dark trim around the panes helped provide structure and kept the background from feeling too nebulous.
Lines and pattern aren’t the only way to provide clues. The blue of the cabinets is significantly darker on the left than on the right. The angles on the trim provide another clue. Thanks to the perspective, I could tell right angles went on the left and acute and obtuse angles went on the right.
While perspective and lighting helped me keep things distinct, you don’t have to use them if they don’t work naturally for your style. Varying pattern, hue, and texture can all provide waypoints for future puzzlers.
It’s all about balance. I don’t know about you, but I don’t want things to be too easy. Why even bother with a 1000 piece puzzle if that’s the goal? But I’m the kind of person who can’t look away from a challenge so if it’s particularly tricky, it’ll just suck away all my time and I’ll find myself wanting to burn it all down finish just so I can get my life back.
I gotta say it was really fun and felt balanced to me, which is all due to eeBoo being so experienced and generous with their guidance. I don’t think it would’ve turned out nearly as fun if I was left to my own devices! But I’ve got so much more insight now!
And of all the things I’ve learned I’d say the most important is to check and double-check when you hear a tile fall on the floor. Especially if your household includes tiny goblins with no self-control.
Key Takeaways
If you’re interested in illustrating puzzles, here are some things to consider. Naturally they will vary by publisher:
Puzzles aren’t just about the image itself. It’s also about the process of assembling the image.
Illustrate in zones. If you ensure the green you use in the grass at the bottom left is distinct from the green in the trees on the top right, your puzzle will be less challenging (or frustrating depending on what level of difficulty the customer is looking for).
Puzzles generally have a lot of detail. That means that even though it’s one image, it’ll take a lot longer than most other projects. And you’ll have to do lot more photo research if that’s your thing!
Puzzles are usually big, so you’ll need to illustrate at a fairly large scale which can slow down your process further. If you’re working with a slower computer, you’ll notice more lag with a large file. If you work in Procreate, you may find yourself running out of layers. If you work traditionally, you’ll (likely) have to scan in sections and do more touch up than usual.
On My Radar
Since I’m writing about puzzles, I thought I’d share one of the best puzzle video games I’ve played recently, in case you’re a fan, too. It’s called: Lorelei and the Laser Eyes.
This game is weird in the best way. It feels like a cross between a Fellini and Argento film, but it’s also firmly grounded in the computer/burgeoning video game age. In any case it’s very imaginative and loaded with opportunities to challenge the little grey cells and feel like a smarty-pants.
My husband and I played it together last month and were both really impressed by the breadth and quality of the puzzles, so if that’s your thing, you’re welcome!



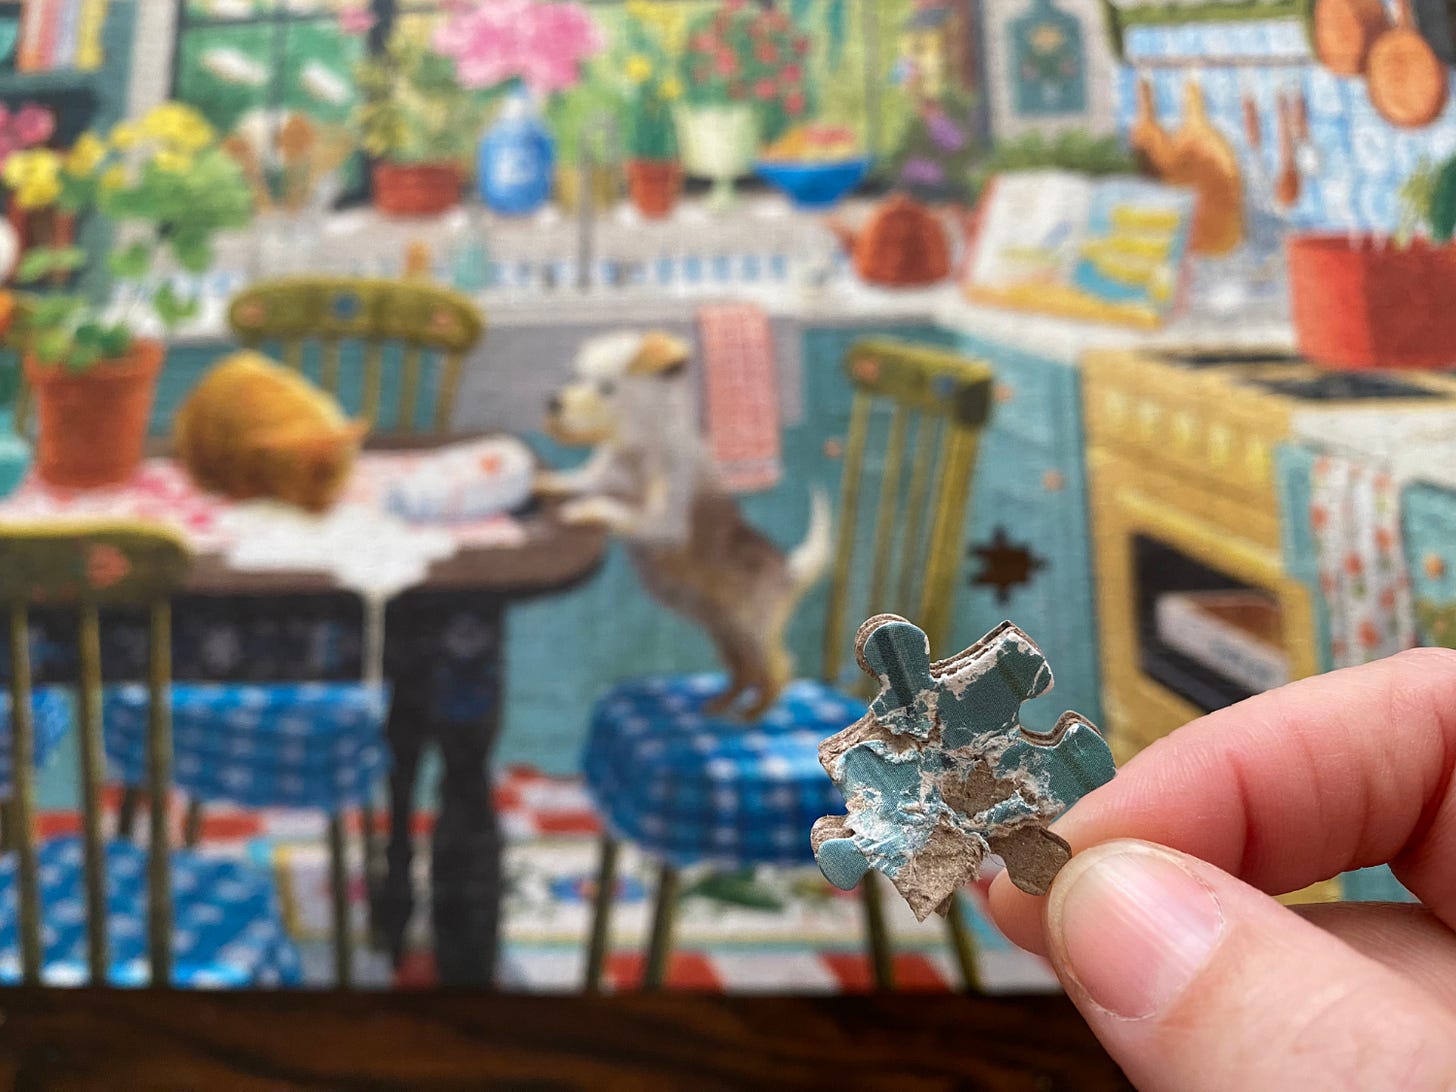

Ah haha the puzzle goblin! I have one in my house too. What is it about those pieces that they love so much!? It’s so sad when there’s one gnarly piece stoping you from completing the puzzle. At least you have lots of backups I guess. Anyway I love puzzles but never thought about them from an illustration perspective. What you said makes so much sense. Thanks for sharing the process. Also very interested in that game you shared. Seems right up my alley.